Does your business sell products?
Have you considered setting up a shop on Facebook?
Facebook allows you to add a Shop section to your Facebook page so customers can buy your products directly from Facebook.
In this article you’ll discover how to add a Shop section to your Facebook page.
#1: Click the Add Shop Section Link
Clicking the Add Shop Section link brings up a prompt explaining what this section will allow you to do. Click the Add Shop Section button to continue.
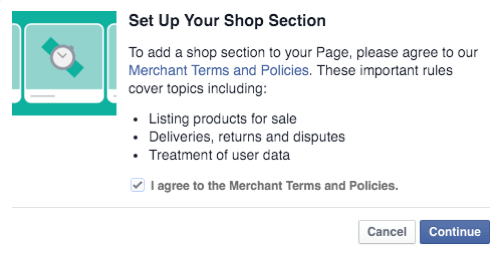
#2: Agree to Merchant Terms and Policies
Next, you’re asked to agree to Merchant Terms and Policies on Facebook. Be sure to read these over. They include important information about what you can sell on your Facebook page, how problems will be handled during the “test phase” of the Shop Section launch, return and refund policies, and other details.
#3: Add Business and Payment Processing Details
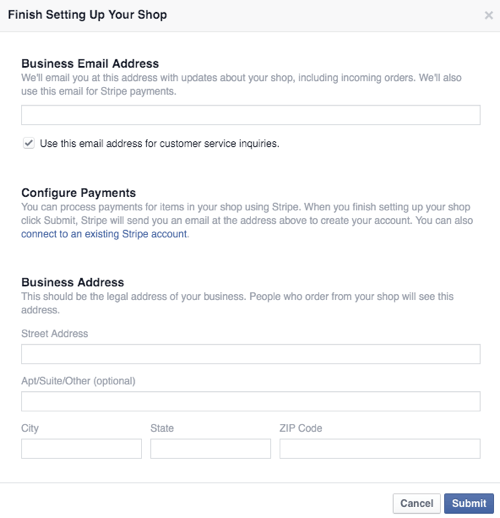
Once you’ve agreed to Merchant Terms and Policies, you’ll enter your business details and set up payment processing with Stripe. If you have a Stripe account already, log into that account first and then click the link to connect to an existing Stripe account. Otherwise, you’ll need to set up a Stripe account and then proceed with the following setup.
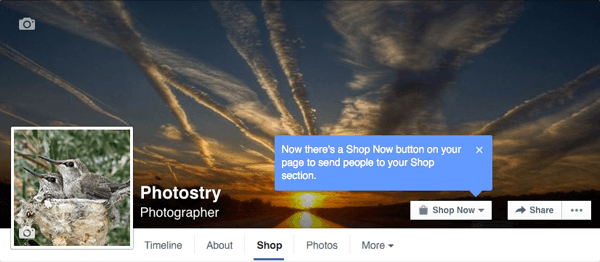
Once you’ve finished this setup, your call to action button changes to a Shop Now button, which takes page visitors to your Shop section.
#4: Describe What You Sell
Next, describe what your Facebook page shop sells in 200 characters or fewer.

#5: Add Products to Your Shop
Now you’re ready to add products to your shop. To do this, click the Add Products button.
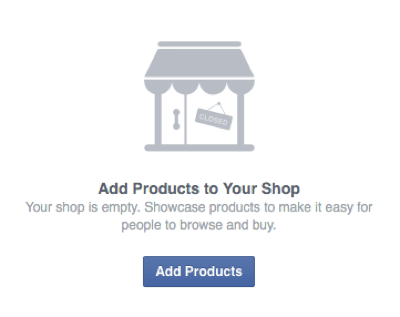
You’ll then be able to configure the following details for each of your products.
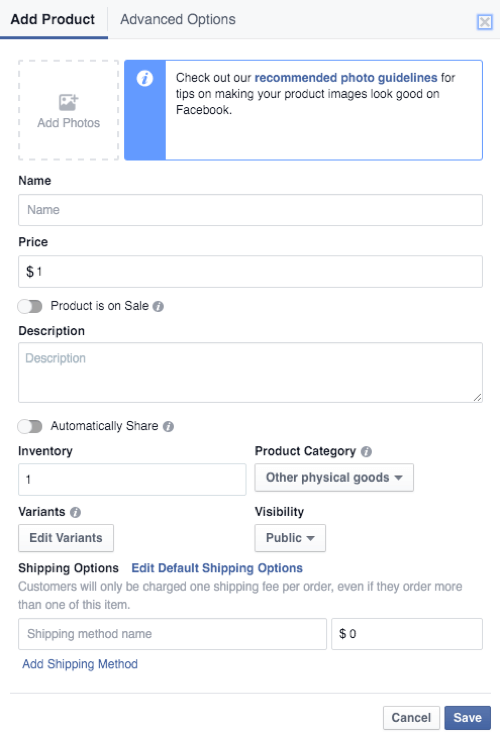
You can find Facebook’s detailed guidelines and recommendations for photos on the product listing guidelines page. They include the following:
- You must have one image for each product.
- The image must be a real image of the product, not a graphical representation, illustration, or icon of the product.
- It’s recommended that the image is a minimum of 1,024 x 1,024 pixels.
- It’s recommended that the product image has a white backdrop or captures the product in use in real-life situations.
- The image cannot contain text (calls to action or promo codes), offensive content, advertising or promotional material, watermarks, or time-sensitive information.
You’ll also need to follow the guidelines and recommendations for your product description. They include the following:
- The description should pertain to the product only and be easily digestible, making use of short sentences and bullet points.
- The description cannot contain HTML, phone numbers, email addresses, long titles, excessive punctuation, all letters capitalized or in lowercase, book or movie spoilers, or external links.
Finally, you’ll find a few guidelines and recommendations about product variants. In short, you can have only four variants per product and variations must be spelled out, not abbreviated. For example, you should say “Large,” not “L,” for sizing options.
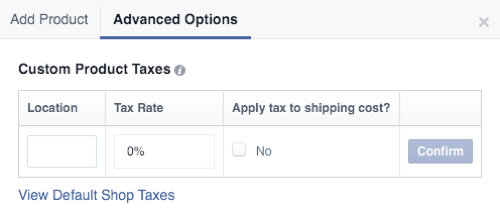
The Advanced Options tab allows you to set custom tax percentages. Note that Facebook only shows your shop to customers in the United States and automatically calculates taxes based on specific locations. You can enter your own rates, but you’ll be responsible for whether they’re accurate.
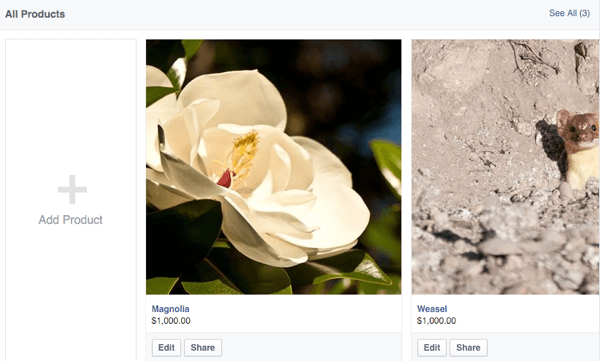
After you start adding products, your shop will begin to look like this.
Products may initially be marked “In Review” (similar to ads) to make sure they meet Merchant Terms and Policies, as well as product listing guidelines. So while you can see them, the public may not until they’re approved. Once they’re approved, individual item listings will look like this.
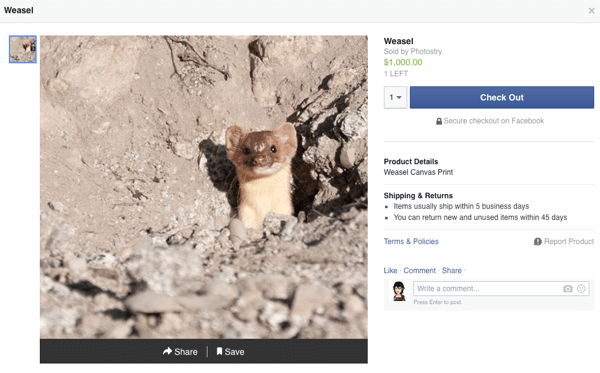
Note the default shipping and returns policy on individual items pages states items must ship within five business days and items can be returned within 45 days. This is a policy required of all Facebook pages that use the Shop section and cannot be changed.
If you want to add more products, go to your shop and click on the Add Product block or go to your Publishing Tools and access the Shop section there.
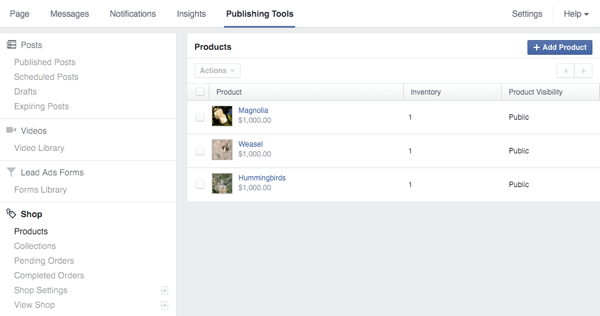
#6: Create Collections
If you have a lot of different types of products, you have the option to create collections to organize your products. This option will be shown beneath your products once you start adding them to your shop.
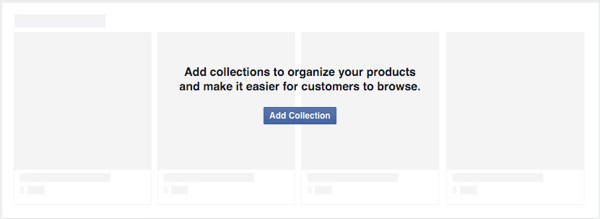
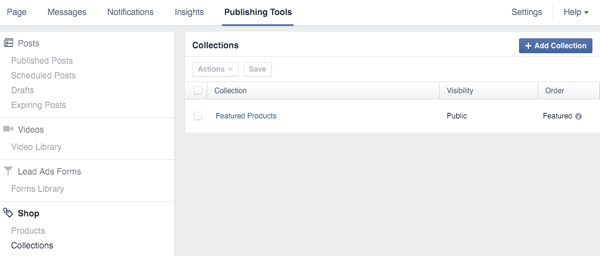
When you click the Add Collection button, you’re taken to the Shop section in your Publishing Tools. You’ll see a Featured Products collection already in place where you can add your best products.
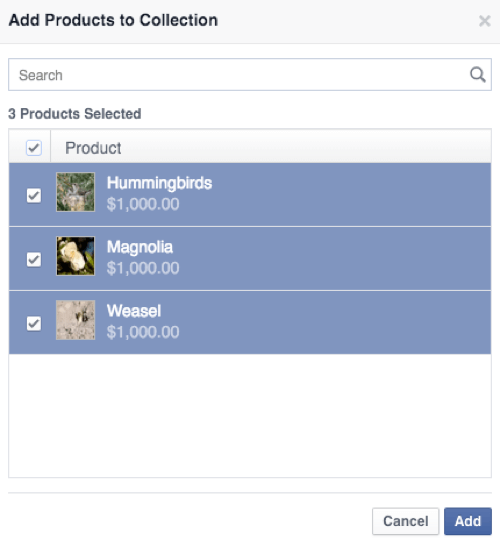
To add products to the Featured Products collection, click the collection and then click the Add Products button. Select which products to add to your collection and click Add.
The first products in your Featured Products collection will appear above your timeline on your Facebook page.
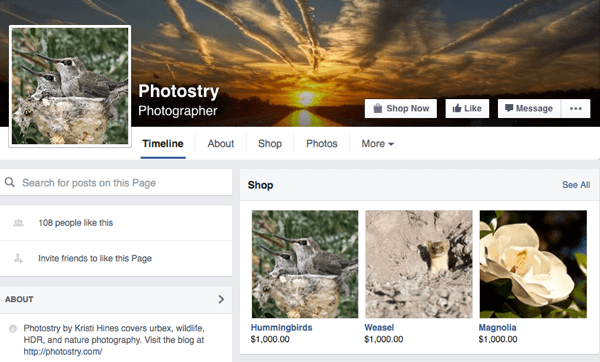
These products will also appear first in your shop, based on the order you arranged them in your Featured Products collection.
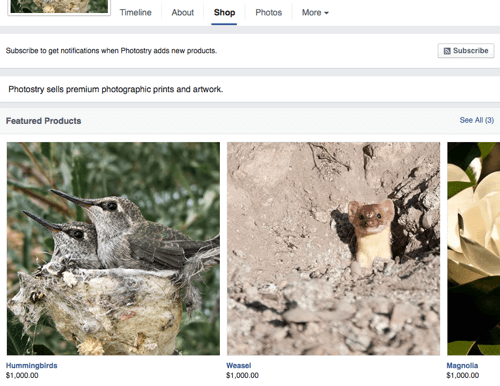
Note that visitors to your shop also get the option to subscribe to get notifications when you add new products.
#7: Access Your Shop’s Settings
To access your shop’s settings, click on your shop’s link from your page’s menu and then click on the setting wheel icon to get the following menu options.

The Copy Direct Link option gives you a link to your Facebook page’s shop that you can share. It will look like this: http://www.facebook.com/HomeOfGraphics/shop/. (You’re welcome to visit this page to see what it looks like, but none of these items are really for sale.)
The Manage Shop option takes you to your Publishing Tools, where you’ll find a new section for your shop. There, you can add products and product collections to group your products.
The Settings option takes you to your shop’s main settings, where you can update your email address, business address, and Stripe account.
The Help option takes you to the Shop Section FAQ where you can learn more about setting up your own shop. If you choose to no longer sell products on your Facebook page, you can use the Delete Shop option.
#8: Manage Your Orders
When you receive your first order, you’ll get a notification. You can review and manage your pending and completed orders in your Publishing Tools under the Shop section.
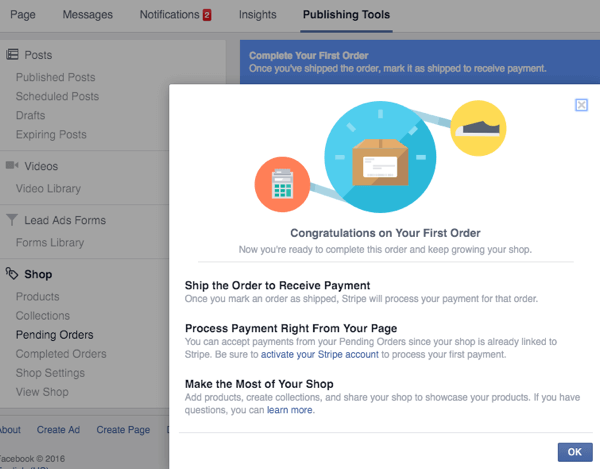
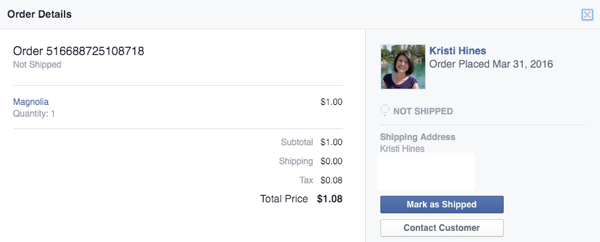
Once you close your first order notification, you’ll see a list of your pending orders. Click on an individual order to see additional details, such as the buyer’s shipping preferences and address. You can also contact the buyer if you need additional information while the order is pending or after it’s completed.
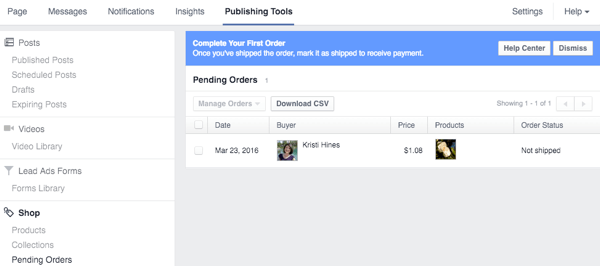
You must ship the order before Stripe will process your payment. After you click on the order, click the Mark as Shipped button and enter the tracking number (if applicable). Then the customer’s payment through Stripe will be processed. The order will move to pending and your inventory will be updated accordingly.
If you have any questions about the Facebook Shop section, contact Facebook Support using the Facebook Advertiser and Business Resources page via live chat or email.
Shopping on Facebook Pages From the Customers’ Perspective
From the customers’ perspective, shopping on your Facebook page’s Shop section will be simple. When they click on a product and click the Check Out button, they’ll need to enter their shipping information if it’s the first time they’ve made a purchase on Facebook.
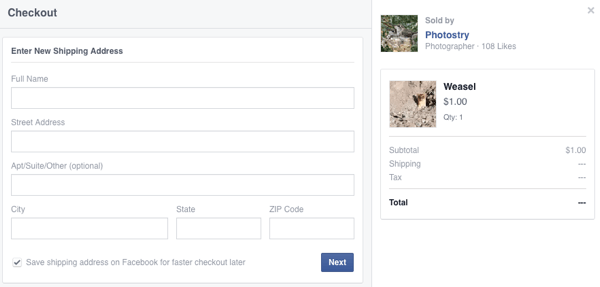
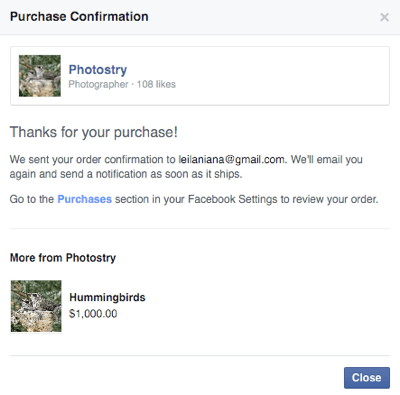
After they click Next, they’ll enter their email, phone number, and credit card information and place their order. Once the purchase is complete, they’ll receive a confirmation plus recommendations for other products that are for sale on your Facebook page.
Customers can visit the Purchases (Payments) section in their Facebook settings to view their orders.
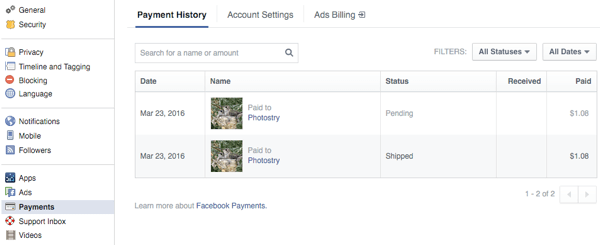
When they click on an individual order, they have the option to review the order details, contact the seller, initiate a return, or initiate an exchange. They’ll also get notifications when there are updates to the order.
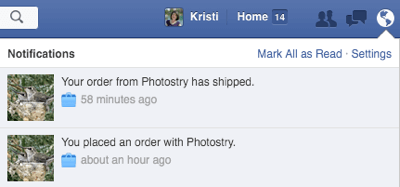
Orders placed through Shop sections powered by Shopify or Bigcommerce may vary slightly.
In Conclusion
This feature is another exciting way that businesses can further boost the ROI of their Facebook pages. Be on the lookout for this feature to become available to your Facebook page if you sell physical products.
What do you think? Is this feature available to you? Are you planning to add a shop to your Facebook page? Please let us know your experience with this feature in the comments!


